Spent a big part of the late morning and afternoon yesterday installing the latest gear I received from Twisted Throttle Canada.
Unfortunately the folding shift lever they sent me was the wrong reference and was for a V-Strom 1000. I didn’t pay attention to the little sticker on the box at that time, and assembled the various parts with no particular issue. Then I removed my current shift lever, wondering if I had to keep the rubber from the OEM piece and add it to the new piece, and while attempting to remove it, I realized it was used to keep the rotating connection lubricated: the rubber was full with lubricating oil… When I saw the new part didn’t need that I thought for a few seconds about setting it the rubber back to its normal position, but it seemed a bit annoying so I quickly discarded the idea… Then I went to install the new lever… when of a sudden something appeared to be wrong: the little bar was not screwing into the new part… What the heck?! Weird… That’s when I tried to fit the main axle and… it was not the proper diameter… What?! Ok, something is really wrong here, this part is not for my bike. I check the box, little white label in the corner: “V-Strom 1000 (14-)”… Oh, no!… I ordered a part that doesn’t work on my bike… Running the stairs up to the kitchen I find the invoice from Twisted Throttle still on the table. Well, it mentions a part for the NC700X ’11-’15, (which should work for the NC750X too), reference FSC.01.127.10100.B… Running back down, I check the SW-Motech manual of installation: FSC.05.127.10100.B … Okay, so they sent me the wrong part… Wonderful…
I spent the next few minutes sending them an email to determine how to proceed with the return and/or exchange, then down to the garage to reinstall the OEM shift lever. The hardest part here, was to reinstall properly that damn rubber, before fitting the lever back to the bike… I think it took me easily 15 minutes, desperately trying to stretch the rubber to fit with greasy fingers, until I finally could find a way to slide it in properly.
When done, quite disappointed, I had my lunch break.
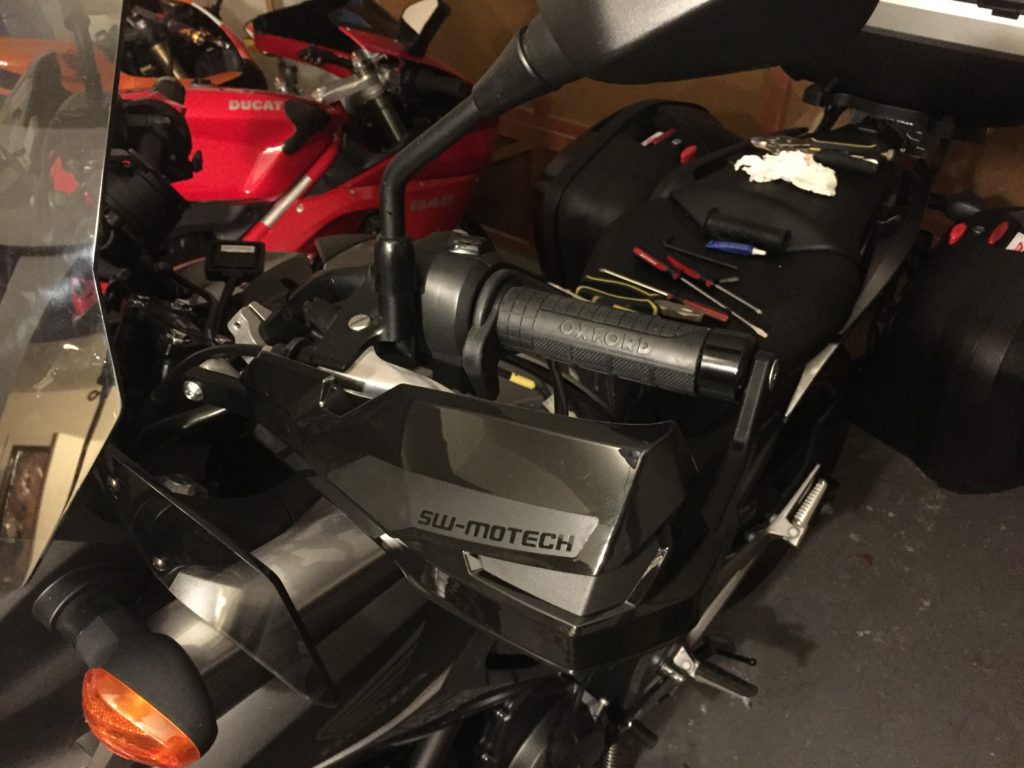
The afternoon was not much easier though: I started installing the heated grips, and checking some youtube videos I realized I had to remove not only the external weights on each side of the handlebar – easy – but also the internal ones – much, much, much harder… Left side was relatively easy, because I could press some clips that freed the internal weight, then pull it away, after I removed the rubber grip. Right side was quite a PITA, from removing the rubber (stuck on the plastic throttle that I was afraid I’d end breaking) to removing the inner weight without being able to press the same clips, hidden under the plastic throttle… I think it must have taken me easily one hour, one hour and a half… my hands all scratched and hurting, I finally was able to remove that piece of crap and started smoothing the plastic throttle with a file so that I could slide the new grip in properly. Then I cleaned properly both sides, applied the superglue that comes with the heated grip kit, and put the grips in place. Electrical wiring would come after installing the handguards.
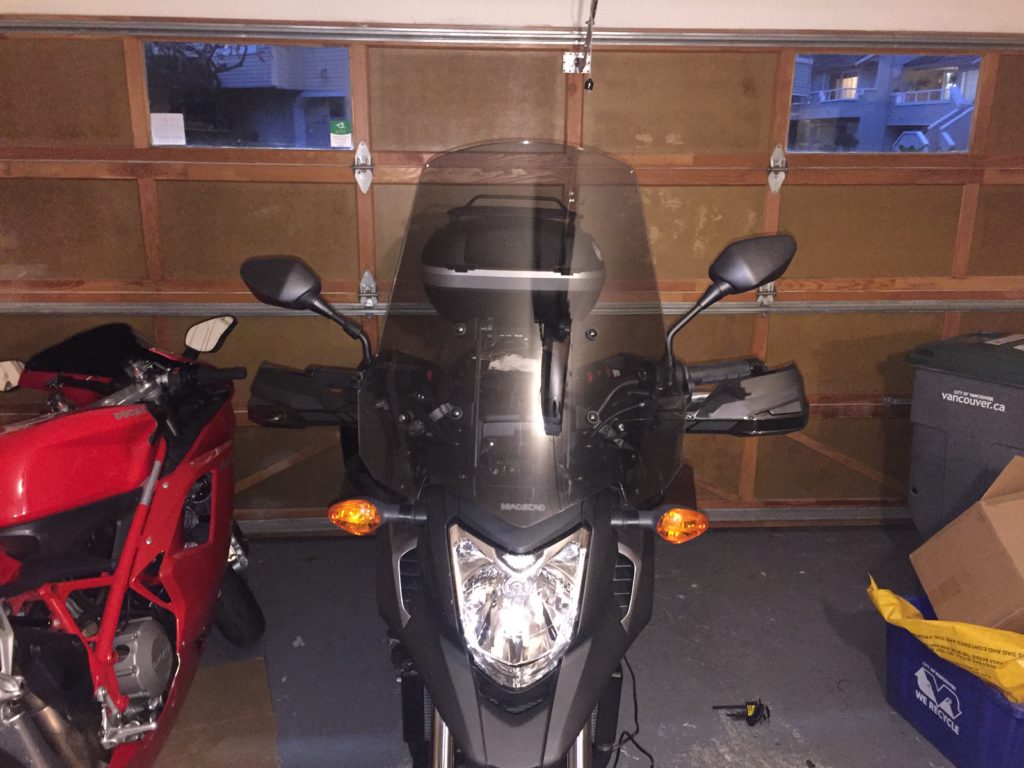
The handguards were pretty easy to mount, now that the weights (internal and external) were gone, and all together it must have taken me one more hour, mostly because I realized that it was impossible to screw the plastic protection in place AFTER the metal bars were installed, so I had to remove them, add the plastic cover, and put them back again. Yes, the manual could have said that, BUT the cover and the bar are two different packages, each one with its own installation manual… Go figure!
With the handguards and grips on, I decided to take a break before dealing with the wiring. I thought that part would take me at the most 30 minutes… Well, I need to stop being optimistic I guess 😀
When back for the wiring, I initially tried to just connect to the battery inside the frunk, open the top part of the fairing, connect everything, and that’s when it became obvious that quickly tying the cables would not really be a good job: I had to remove the fairing panels on the left side of the bike – again (getting used to that procedure, but it’s still quite a pain and takes time). And so did I. It took me probably one more hour, tying the cable properly, adding some electrical tape wherever necessary, and then re-mounting the fairing panels (the front-left one is the most annoying to put in place!) one after the other.
So, it’s all done now, I quickly tested everything was fine, the grips were normally heating – I didn’t insist to avoid draining my battery – the handguards looked nice. Only issue, the handguards are now hitting the Madstad windscreen when full lock turning… I temporarily changes the inclination of the screen, so that the handguards hit less, but I will definitely need a riser (Rox riser?) for my handlebar, which will also put it higher and closer to me, which is not a bad thing per se.
Anyways, that and mounting my new TKC-80 tires will be for the next post.